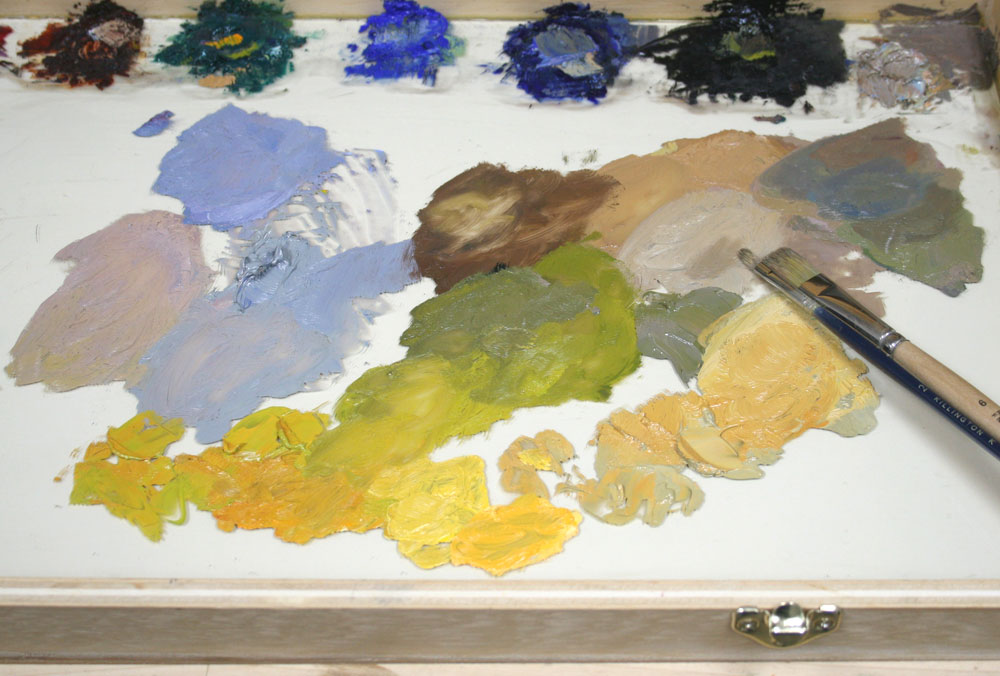
Oil painting wet-into-wet avoids the need for most mediums. It’s just what it sounds like — the paint is not allowed to dry during the painting process. From start to finish, the paint is applied wet from the palette directly onto the wet painting.
There are different methods for managing this on larger-scale works, but more on that later. For now, the point is that in order to paint with oils, you need only one addition to your tubes of paint:
Thinner.
Oil paint can be somewhat stiff out of the tube. So it’s helpful to have some kind of thinner to make the paint more workable.
I use one of two thinners: either a solvent or an oil. The solvent I like is Gamsol (odorless mineral spirits made by Gamblin). The oil I prefer is walnut oil (I get it from M. Graham). Both are useful for thinning paint and for cleaning brushes. The added benefit of walnut oil is its non-toxicity. I avoid linseed oil because of its tendency to yellow over time. (See my post about that.)
Oil painting wet-into-wet has some definite benefits.
• Edges and shapes throughout the painting can be easily manipulated since they are all wet and workable.
• The need to repaint dry, unfinished sections is eliminated because areas are completed before they dry.
• All parts of the painting dry together in unison, maintaining an even surface sheen in the finished work. (Flat “dead spots” caused by painting wet paint on top of dry are avoided.)
• No need to rely on the application of varnish to create an even surface sheen. (Although it’s still advisable to apply it as a protective layer.)
• Paintings are completed more quickly, meaning that losing interest is less likely.
In Part 2, we’ll talk about the process of oil painting wet-into-wet and how you can use it to your advantage.
For more of my posts about keeping things simple, check out the following: Choice of brushes. Palette setup. Limited colors.
